BEFORE APPLYING TO AN ARTIST OPPORTUNITY: NO APPRECIATION WITHOUT PROPER REPRESENTATION (PART 4 OF 4)
“Remember: this is a photograph of your work, not your actual work”
So, you’ve finished your opus and you want to share it with the world. You find an exhibition that looks promising, and you are about to apply when you notice that the judges will be evaluating your work using digital photo submissions. What do you do? Well, put that iPhone down, Ansel Adams, because that’s not going to cut it. Here’s what you need to do to make sure your work is represented as accurately and successfully as possible.
- Consider hiring a professional or learn how to take professional photos on your own: Below are some suggestions on how to best document your work, but this is not a comprehensive list or a substitute for hiring a photographer or taking a class to learn how to present your work in the best way. For many applications, judges see your work samples before any other material in your application so it’s worth the investment, whether in money or time, to have a professional portfolio of your work.
- Use a high-resolution camera: While a compact digital camera may be acceptable in terms of photo quality and affordability, you can’t go wrong with a slightly larger investment into a DSLR. Cameras with larger sensors will create better images, but also require a larger lens. A higher resolution will give you detailed photos with greater freedom in cropping and zooming in without looking like a pixelated mess. Shoot for 12 megapixels or more.
- Use natural light: This one is important. You should always photograph your work using natural light. The Sun is the star of natural light sources (ba dum tsh), and you should make use of it. Shade can cast your work in a different light (I’m sorry) and change the entire way your work is perceived. You can achieve this by shooting outside or in a studio with lots of natural light from big windows.
- Use a tripod: Shaky hands: great in jazz choreography, bad in photography. And surgery. Even slight motion will create a blurry image, so use a tripod. Some cameras come with digital image stabilizers that will reduce the camera jitters, but it’s easier to set your camera on a tripod and forget about it. Make sure it’s on even ground and tightened at the correct height to make sure the image — and camera itself — stay pristine.
- Avoid using your camera’s flash: Nobody likes a flasher. Your camera’s flash probably won’t do your work justice. If you don’t have access to natural light, use light stands, which you can purchase at any photography store. If your work is under glass or using a reflective medium like oil paints, the light will create spots that distort the final image. In fact, it’s a good idea to just ditch the glass if possible.
- Keep Everything in Focus: Make sure the camera is focused and pointed at the center of your artwork. For two-dimensional works hanging flat on a wall, make sure the camera is parallel to and at the same height as the center of the piece.
- Have A Range of Different Shots: Depending on the work, you may want to have work fill the frame with nothing in the background, or you may need to include the frame if it’s essential to the piece. If your work has depth, a detail image is necessary. It’s also always useful to have installation shots to give viewers a sense of scale or how the pieces work together. You don’t need to use all these images, but take them and decide later. Remember: this is a photograph of your work, not your actual work, so you’ll need to try different perspectives to see what best captures the experience of seeing your work in person.
- Retouch and go: No photograph comes out perfectly, but fear not, because editing and retouching software exists just for this purpose. Programs such as Adobe Photoshop can be used to fix a whole host of issues that may exist in your photograph, like color saturation or cropping out that weird stuff behind your artwork. Guides for using photo editing software can be found all over the Internet.
And you thought it was just point-and-click…
Find upcoming deadlines for exhibitions, contests, and competitions onNYFA Classifieds: Opportunities & Services for Artists or search NYFA Source, NYFA’s free database of 12,000+ opportunities for artists.
Go Back to Part 3: Su-su-studio: Finding The Right Space
– Written by Sean Doolittle
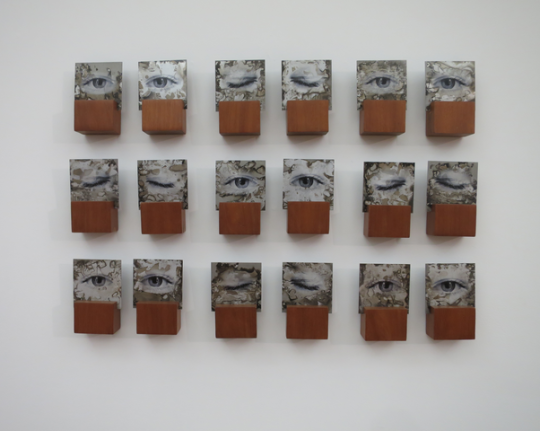
Image: Installation image of La Crisalida exhibition in NYFA’s Gallery in Brooklyn, NY.